Introduction
Welcome to my bedroom! For as long as I have lived here, it has stayed pretty much the same. I’ve just been too lazy to ever change it. But recently, I decided it was time for a makeover. The challenge was to transform my bedroom on a budget, as I don’t plan on living here for much longer. Let’s dive into the process and see how I accomplished this transformation.
Revamping the Ceiling
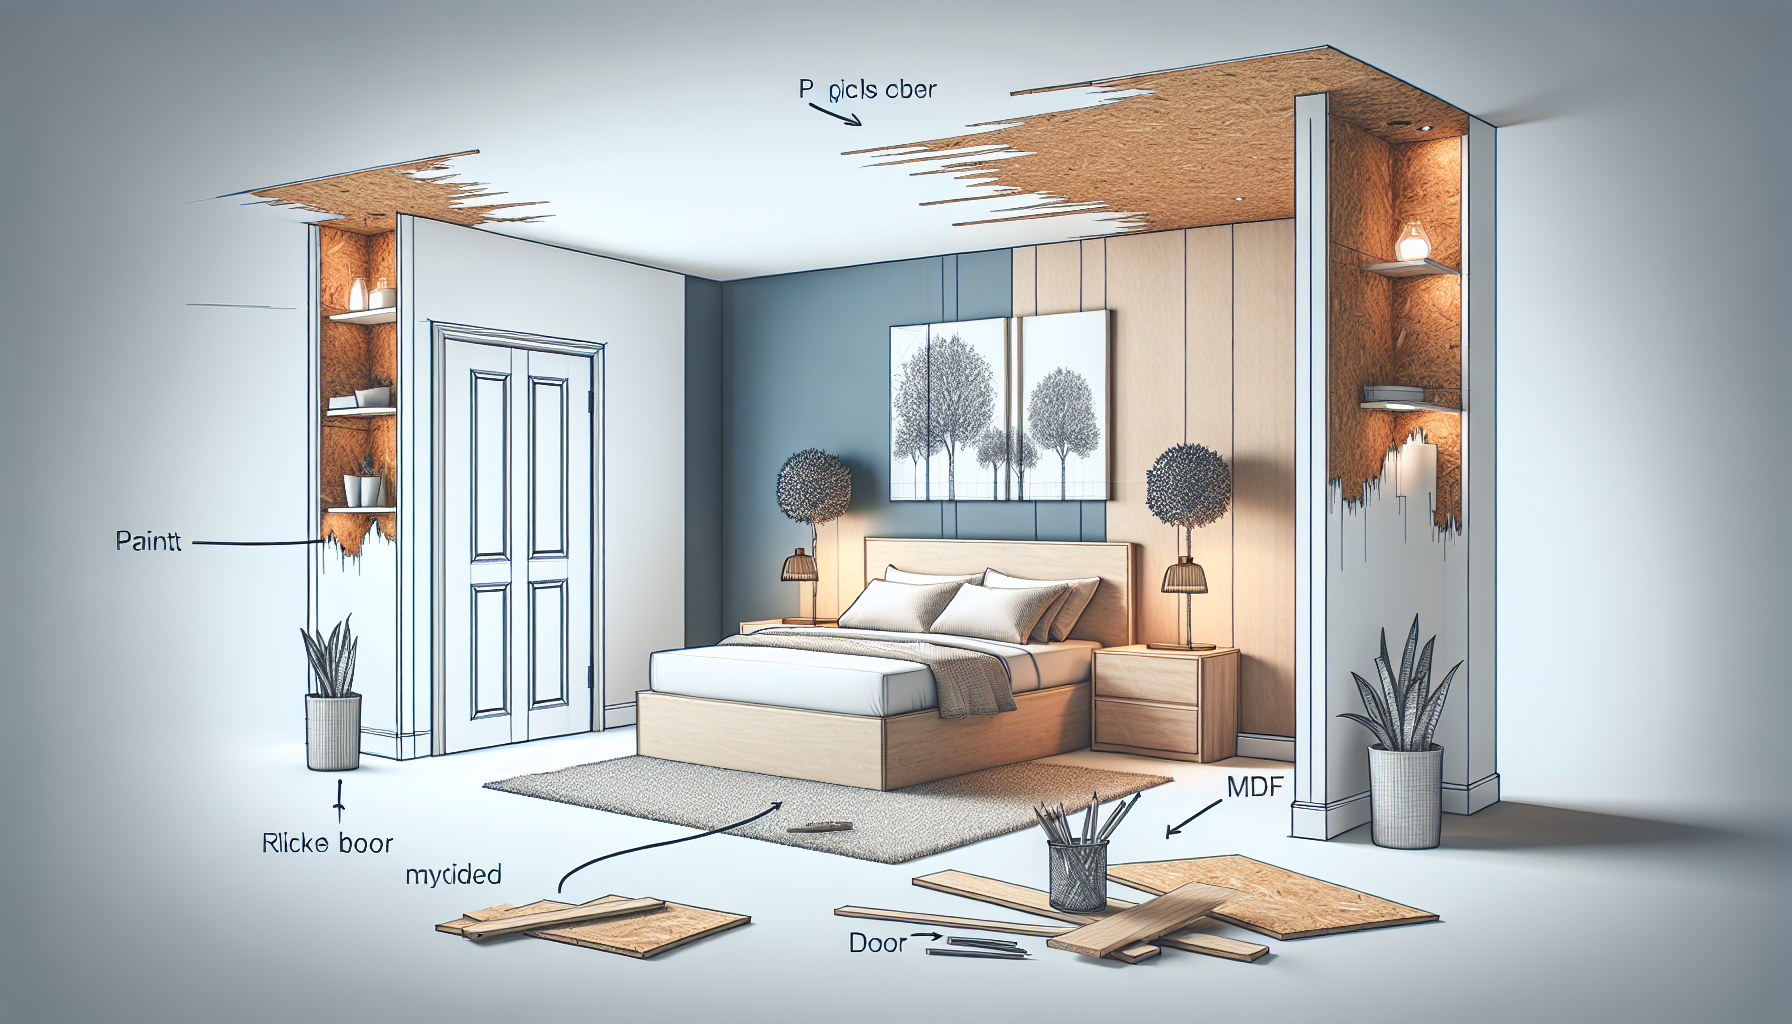
The first step in my bedroom makeover was to tackle the ceiling. I sprayed down the ceiling with some hot water and let it sit for five minutes. Then, I took a drywall knife and scraped off the popcorn texture. Surprisingly, it came off easily and was quite satisfying. This simple step instantly gave my bedroom a cleaner and more modern look.
Creating an Accent Wall
After taking a break from the ceiling, I moved on to creating an accent wall. I marked out the location of my boards and studs, as I needed to run wires for lighting. To maximize space, I had to choose a path that worked best for the wires. Although there isn’t much detail about this process in the video, I can create a separate tutorial on how to run wires to a wall if there is interest.
Since I wanted a switch for each light, I faced a challenge with limited space. However, I realized that it wasn’t a major issue, as nobody would be on that side of the bed anyway. With the location of my studs and board on the right-hand side, I proceeded to put up the boards using two and a half inch MDF door trim. I secured the boards in place with construction adhesive and brad nails. While using both may not be necessary, it provided extra stability.
Finishing Touches
After putting up the boards, I filled in all the holes from the brad nails and any gaps between the boards with wood filler. I also cut out spaces for my nightstand tables and used caulk to make everything appear more seamless. Unfortunately, the finish under the popcorn ceiling was not ideal, so I had to apply a skin coat. Though I’m not a fan of mudding, this experience helped me improve my skills.
Adding Floating Shelves
Since the studs in my house were two feet apart, I could only secure the floating shelves with one screw. To provide additional support, I attached extra pieces of MDF behind the drywall. While this may not be as sturdy as using 2x4s, it served its purpose. With the shelves in place, it was time to paint.

A Fresh Coat of Paint
I enlisted the help of my mom to paint the walls. Although one more coat would have been ideal, I decided that the current coverage was good enough for my budget makeover. I also installed affordable light fixtures that added a touch of elegance to the room.
Creating Bedside Tables
For the bedside tables, I used fiberboard and cut it into specific dimensions. I gave the sides miter cuts to join them together. If you don’t have the necessary tools, you can have these pieces cut at the store and glue them together. With some wood filler and sanding, you can achieve a decent finish.
Stylish Floating Shelves
The floating shelves were made from a single piece of 2×10 by 12, cut into three-foot lengths. I drilled three pocket holes into each shelf and secured them to the wall. While I feel that the stain could have been darker, I decided to embrace the current color rather than make changes.
Adding Symmetry
Next to the floating shelves, I wanted to hang a mirror on the wall. To create symmetry, I made a custom frame using hardboard and two-by-one boards. Despite my limited woodworking skills, I was amazed at how well it turned out. Due to the current closure of stores in my area, I had to get creative with decorations. I scavenged my house for items and improvised until I can buy new decor in the future.
The Final Touches
I hung my curtains higher than before, following a popular trend, and it added a nice touch to the overall look of the room. After all the hard work, I am pleased with the final result. For a bedroom of this size, the transformation is quite impressive. Special thanks to my sister for assisting with the bedding and other details that I struggle with.
Conclusion
Thank you for joining me on this budget bedroom makeover journey. I hope you found some inspiration or ideas from my experience. Your support is greatly appreciated. Stay tuned for more exciting content in the future!


Leave feedback about this